Cold vs Hot Infusions: The Herbalist’s Guide to Getting It Right
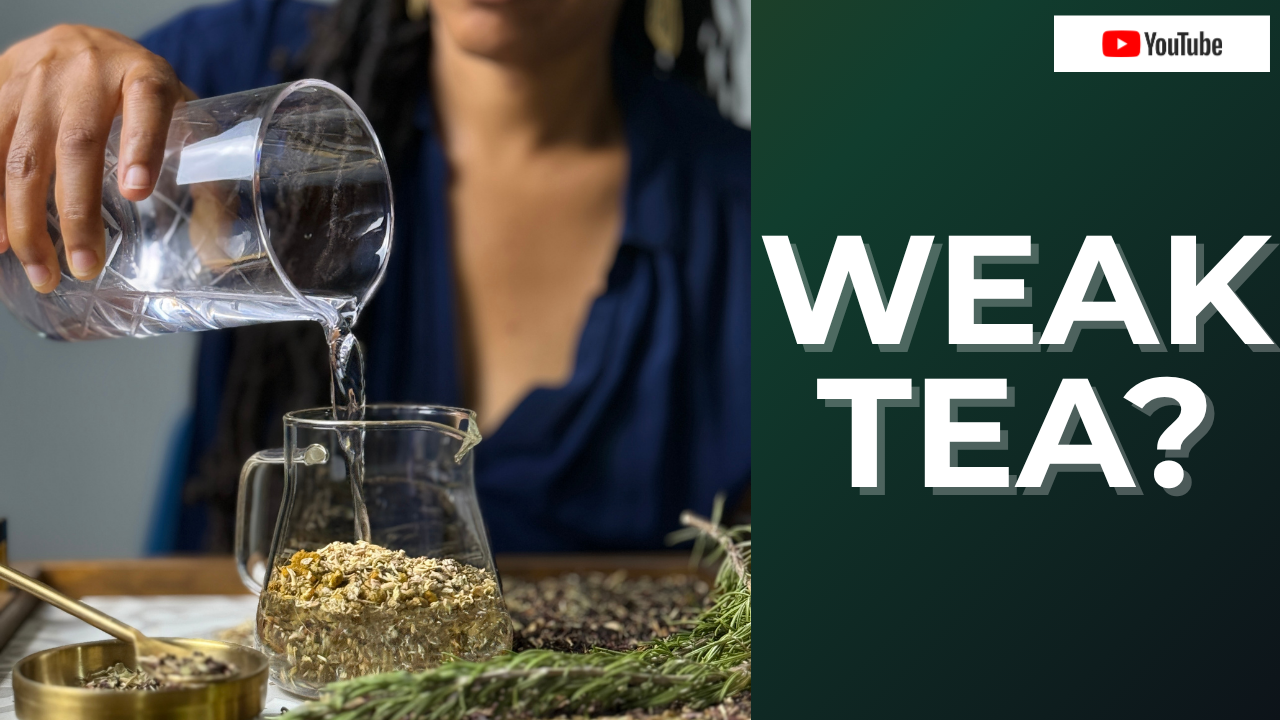
Sep 26, 2025Ever wonder why your infusions don’t quite hit the way they should? The secret isn’t just in the herbs—it’s in the method. Specifically: cold vs hot infusion. This isn’t a minor decision. It’s a foundational one that determines what your body actually receives from the plants. In this video, I walk through how herbalists think through this choice, and how your intentions with the plant should always guide your process. Watch here.
But what if you've been boiling away your vitamin C without realizing it? Or skipping the mucilage your digestion craves? The method you choose could be costing you the very benefits you're after.
Water, Oil, Vinegar? Solvent = Strategy
When you choose a solvent, you’re choosing what compounds you extract. Water pulls some compounds. Oil pulls others. Alcohol, vinegar? Totally different again. And temperature plays a huge role, even with water. For example, vitamin C is water-soluble—but heat above 140°F degrades it. So boiling hibiscus or rosehips means you’re not getting the full vitamin C benefits.
Most people don't think of extraction as a strategy. But every herbalist should. I break down how I make these choices in the video.
Cold Infusion: Protecting the Good Stuff
Want to pull out mucilage (polysaccharides), vitamin C, or other heat-sensitive compounds? Then cold infusion is your best friend. Herbs like slippery elm, marshmallow root, and hibiscus shine here. Same with okra’s famous sliminess—that’s mucilage. High temps? They break it down.
But how long should you infuse? What’s the best way to store it? That’s all inside the video.
Hot Infusion: Going Deep with Minerals
Now if you’re after minerals or working with tougher plant parts like roots (think nettles, dandelion root, red raspberry leaf), heat is your tool. A long steep or gentle simmer helps open up the plant and pull out calcium, magnesium, silica, and more.
You can also add a splash of citrus or apple cider vinegar to boost mineral extraction. But how do you know when it’s too much? Or which herbs don’t play well together? I cover that in the video.
Customize for Your Family’s Needs
In our home, I prep family infusions weekly—usually nettle, oatstraw, and others like red clover (unless contraindicated for hormonal concerns). I rotate in tulsi, hibiscus (for tartness and taste), ginger, chamomile, and even reishi or gotu kola. Need to tone the uterus? Add red raspberry leaf. Kid says it’s too bitter? Add mint or fruit.
A great trick: if an herb doesn’t agree with someone, like nettle making you gassy, balance it with a carminative spice like ginger.
My full rotation strategy (and the story behind it) is inside the video.
New to Herbalism? Start Here.
Try a skin patch test with a new herb. Make a small infusion, apply to skin, and wait 24 hours. Repeat the next day. If no reaction, gradually increase to full infusions.
This step-by-step intro is beginner-safe and super effective. Watch how I walk through it in the video.
Free Resource: 25 Family-Friendly Recipes
Get my Family Infusions eBook with 25 recipes to nourish, soothe, and energize your household: https://www.iwillaremedy.com/herbal-infusion-recipes
Ready to Go Deeper?
If you’re serious about understanding extraction, formulation, and advanced herbal preparation—take the next step here: https://www.iwillaremedy.com/offers/dauSLUDY/checkout
Watch the Full Video for the Real Tea
Everything from mucilage myths to family-friendly tweaks to extraction science is in the video. Whether you’re a beginner or building a generational practice, this is where your herbalist instincts sharpen.

Keywords: herbalist, herbalism, cold infusion, hot infusion
