
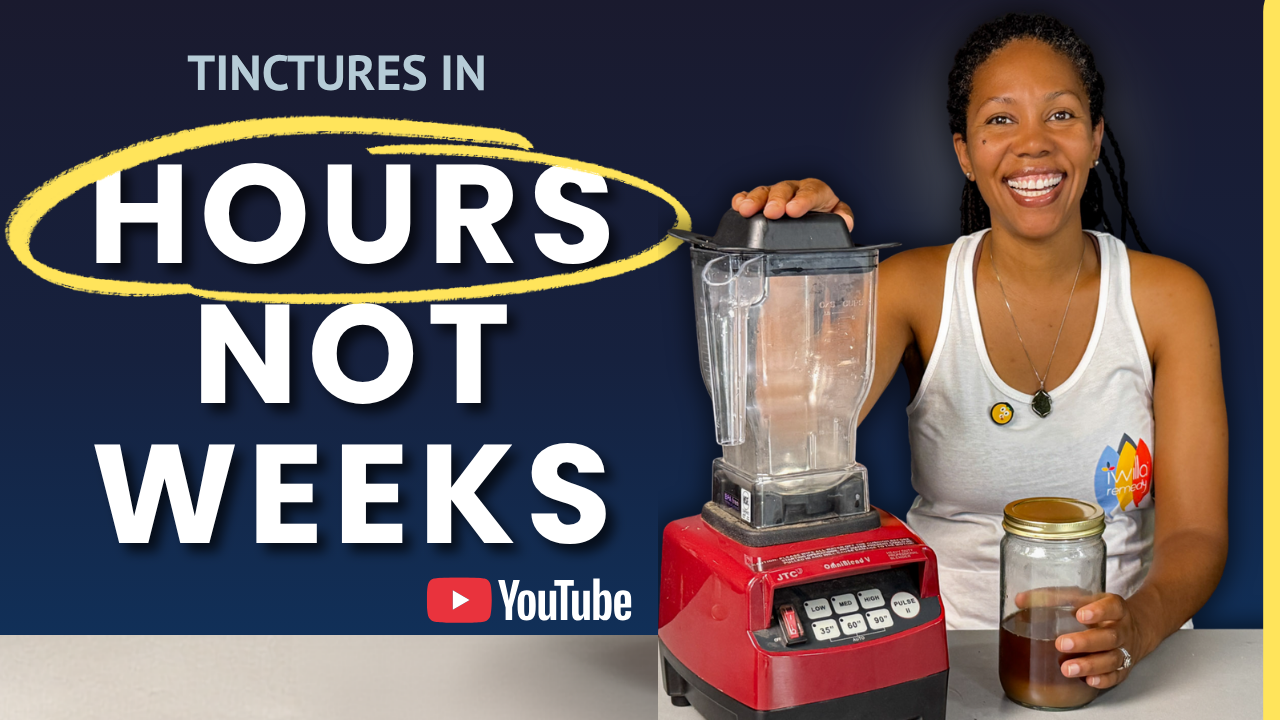
How to Make a Tincture Fast: The Blender Method Explained
Sep 21, 2026 Written by Selima Iwilla Harleston Lust
Clinical Herbalist & Co-Founder, Iwilla Remedy
Published September 20, 2026
If you have been told that the only way to make a tincture is to put herbs in a jar and wait four to six weeks, or to spend a full day watching a percolation cone drip, I want to show you another way.
This is the fourth and final video in our tincture making series. We have already covered the folk method, the percolation method, and glycerites. This one completes the set, which means you now have four options to choose from depending on the plant, the constituents you want to extract, the equipment you own, and whether you need an alcohol free preparation.
Today we are making an elecampane root tincture using a high speed blender. Elecampane is dense, hard, and dried, which makes it exactly the kind of herb that shows you what this method can actually do.
Why some tinctures take six weeks and others take an afternoon
Every tincture method works with the same basic relationship. You have plant material, a solvent, agitation, temperature, and time.
When we want to shorten extraction time, three of those levers are available to us.
Surface area. We increase it by cutting or grinding the herb into smaller pieces, which gives the solvent more plant material to make contact with.
Agitation. We increase it by moving the herb and the solvent against one another, continually renewing that contact.
Temperature. When appropriate, gentle heat increases molecular movement and helps constituents move into the menstruum more quickly.
You have already seen all three of these at work across this series. In the folk method, we give extraction plenty of time with occasional agitation when you shake the jar. In percolation, fresh menstruum moves continuously through the herb. In the glycerite, we used a warm water bath and brought temperature into the equation.
The blender method dramatically increases surface area and agitation at the same time. It also generates a little heat as it runs, which can speed extraction, but heat in this method is something we monitor carefully rather than something we maximize.
I have taken university level chemistry courses, and studying concentration, molecular movement, and solvent behavior changed the way I think about medicine making. It helped me understand that extraction is not just about following a recipe. There are variables we can work with on purpose. That is really what we are doing here.
Why I pre soak the root before blending
I first learned about using a high speed blender for rapid herbal extraction through the teaching of herbal chemist Lisa Ganora. Since then I have kept studying the chemistry behind extraction and experimenting with how I want to use this technique in my own medicine making.
What I show you in this video is the method I use for this particular preparation, with one important adjustment. I pre soak the root before I blend it.
This is not a soft flower or a tender leaf. It is a dense dried root. When dried root meets menstruum, it does not saturate instantly. It absorbs liquid, the tissue softens, and then the solvent begins penetrating the material to extract.
So I give elecampane root one to two hours in the menstruum before the blender ever turns on. Keep it covered during that time so you do not lose alcohol to evaporation.
After two hours the difference is visible. The root is softer, the menstruum has had time to penetrate, and now the blender can do the mechanical work it is good at.
Choosing your alcohol percentage on purpose
For this tincture I used a 70 percent hydroethanolic menstruum, which means 70 percent alcohol and 30 percent water. I started with 190 proof alcohol and diluted it down.
For many tinctures, somewhere between 40 and 60 percent alcohol is a useful starting point, and you can find spirits in that range at the liquor store. But as you learn more about a plant and the compounds you are trying to extract, you can choose your alcohol percentage more intentionally. Some herbs call for more water. Others benefit from more alcohol.
The goal is not to use the strongest alcohol you can with every herb. The goal is to choose the menstruum that helps you capture more of the compounds you actually want from that plant.
Elecampane contains aromatic compounds and sesquiterpene lactones, and the slightly higher alcohol percentage helps extract more of those. If I wanted more of elecampane's inulin, which is a prebiotic carbohydrate, I would lean toward a water based preparation like a tea or a decoction instead.
The ratio and the setup
Today's ratio is 1 to 5, weight to volume. That means 1 gram of dried herb for every 5 milliliters of finished menstruum. I started with 100 grams of dried elecampane root, so my total menstruum is 500ml.
Here is what you need:
- High speed blender
- Kitchen scale
- Graduated cylinder
- Dried elecampane root
- Prepared 70 percent alcohol menstruum
- A bowl with a cover for pre maceration
- Spatula
- Straining bag, potato ricer, or tincture press
- A tall narrow jar
A safety note before you begin. Alcohol is flammable. Keep your blender away from candles, gas burners, pilot lights, and any other ignition source. Do not preheat your alcohol.
How to blend without cooking your medicine
Take some of your 500ml and pre moisten the herb. Cover it and let it sit for one to two hours.
When you are ready, add the rest of your alcohol to the blender, then slowly add the herb. Start on low until all the herb is in, then gradually increase speed as the mixture circulates. You want the plant material and the menstruum actively moving together. You know how sometimes you get a clump sitting at the bottom of the blender with the blades spinning and nothing actually moving? That is what we are avoiding.
The blender itself matters more than people expect. Motor power, blade design, speed, and how well the mixture circulates all affect how quickly the herb breaks down. I have used lower powered blenders that really struggled with dense plant material. There is no single blending time that works for every blender, every batch, and every herb.
This is not a set it and forget it method. Watch the consistency, watch the circulation, and pay attention to the heat.
Let me tell you how I learned that last part. I once let a batch run for about ten minutes straight. When I stopped the blender, the mixture was so hot it felt like I had made a tea instead of a tincture. Whoops.
Now I work in shorter intervals. If the mixture starts getting warmer than I want, I stop and let it cool before continuing.
When you are done blending, do not pull the lid off right away. Let it cool first. Alcohol evaporates more readily as it warms, and we are working with an aromatic root, so volatile compounds can leave with those vapors. That vapor is also flammable. We want those compounds in the tincture, not in the kitchen.
Straining, pressing, and why your yield shrinks
Once you open it, you have a slurry. This is where the trade off of the blender method shows up.
The blender created enormous surface area, which is wonderful for extraction and much less wonderful for filtration.
Get as much out with the spatula as you can, then press. You can hand squeeze a straining bag, use a potato ricer, which is one of my favorites for smaller batches, or use a tincture press if you have one. Pressing recovers more liquid from the marc.
Here is what beginners do not expect. 500ml in does not mean 500ml out. Some liquid stays trapped in the plant material, and that is normal. Your herb, particle size, and pressing method all affect yield.
Depending on how thick it is, you may need to strain a couple of times. If you want a clear tincture, run it through a coffee filter at the end.
For my traditionalists who still like to wait
If you feel better letting your tincture sit, you can.
Instead of pressing right after blending, transfer everything into a clean jar, cover it, label it, and let it continue to macerate for a few days, a couple of weeks, or your usual maceration time.
The blender does not take that option away. You have already reduced particle size and brought herb and menstruum into close contact. Sitting simply extends that process.
I will not tell you that extra weeks automatically makes it stronger, because that is not something to assume without testing. But if that is the method you trust, there is nothing wrong with continuing it. You do not have to throw away tradition because you learned a new technique. There is room for both.
So which tincture method should you use?
Not every herb should be treated the same way. A soft flower is not a hard root. A resin is not a leaf. A volatile rich herb is not a mucilaginous one. And 70 percent alcohol is not automatically right just because you are making a tincture.
Here is how the four methods sit together.
Want something simple, traditional, and low tech?
Use folk maceration.
Want a controlled method where fresh menstruum moves continuously through the herb?
Learn percolation.
Need an alcohol free preparation?
Make a glycerite.
Need a tincture today, or processing a large batch of fresh material?
Reach for the blender method.
I will be honest with you. The blender method is not my favorite tincture making method. But there are times when it is exactly the tool I need.
When we were selling fresh mimosa flower tinctures, the blender method was perfect for processing those fresh flowers and getting the tinctures on the shelf quickly. Were they easy to strain? Absolutely not. That fine plant material made straining a pain. But they made excellent medicine, and we still use some of those tinctures today.
I do not use the blender method because I think every tincture should be made this way. I use it when the plant, the situation, and the timing make it useful.
Label it before it goes on the shelf
Before this tincture goes anywhere, label it. Here is what goes on mine:
- Plant: Elecampane root, Inula helenium
- Plant state: Dried
- Ratio: 1:5 weight to volume
- Menstruum: 70 percent alcohol
- Date of preparation
- Method: Blender method
That last line matters. If you ever want to replicate this tincture, you will need to know which method you used.
Frequently asked questions
How long does it take to make a tincture with a blender?
A blender tincture can be pressed and strained the same day. Most of the time is the one to two hour pre soak for dense material, not the blending itself, which happens in short intervals rather than one long run.
Do you have to wait four to six weeks to make a tincture?
No. That window belongs to folk maceration, where time does most of the extraction work. Percolation and the blender method both shorten it by increasing solvent contact instead of waiting for it.
Does the blender method make a weaker tincture?
No. The trade off is filtration, not strength. The fine slurry is harder to strain and may need a second pass or a coffee filter for clarity.
Do soft leaves and flowers need a pre soak?
Generally no. The pre soak matters most for dense dried material like roots and barks that do not saturate quickly.
Is it safe to blend alcohol?
It is, with care. Keep the blender away from any ignition source, never preheat alcohol, and let the mixture cool before removing the lid.
Your next step
The best way to learn herbalism is to get your hands in the plants. Make tinctures using all four methods and see which one you actually like working with.
And here is the thing about learning extraction. Knowing how to get a plant into a bottle is one half of the work. Knowing where it goes in the body is the other.
Family Farmacy is a substantial reference for understanding herbs in relationship with human physiology, taught across 11 body systems, so you can match the plant to what is actually happening in the person in front of you. Explore Family Farmacy here.
Tell me in the comments how deep you want me to go with herbal chemistry. Are you here for the molecular detail, or do you want me to just tell you what to put in the jar? And if you want the video on calculating your own menstruum percentages, say so. Fair warning, that one has math.
This content is for educational purposes only and is not medical advice.
ABOUT THE AUTHOR
Selima Iwilla Harleston Lust Selima Iwilla Harleston Lust is a clinical herbalist, author, medical astrologer, and co-founder of Iwilla Remedy, with more than 15 years of clinical practice. She is the Professor of African American Herbalism at Spelman College, where she created the African American Herbalism course, and serves as a Lead Herbalist Educator at Herbal Academy. Her work centers health sovereignty, cultural lineage, and evidence-informed plant medicine.